Client Installation
- Before beginning, make sure you close all applications. Click the client setup.exe (from the specified location).
- Any necessary components that are not already on
your computer will be installed before continuing to the client installation. (e.g., - Visual C++ Runtime
Libraries (x86) and .NET Framework 4.0)
- Click Install to continue.
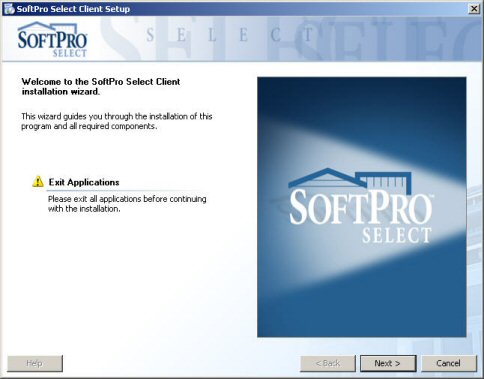
- The client installation wizard will begin. Click Next.
- Before you begin, you will need to accept the licensing terms. Click Next.
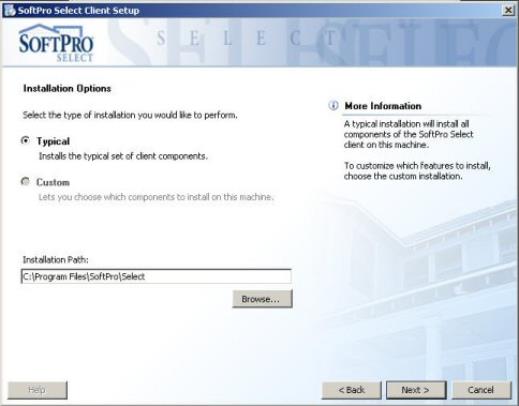
- The Installation Options dialog appears. A Typical installation installs all components of the client on your computer. A Custom installation (not currently available) installs specific components on your computer. The installation path indicates where the application will be located. You can change this location by manually entering a location or browsing to the location. Click Next to continue.
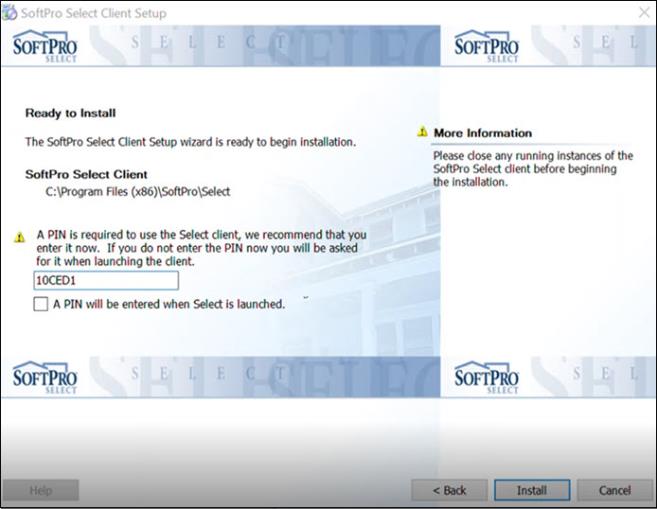
The Ready to Install dialog appears. This indicates where SoftPro Select will be installed. Close any currently opened version of the application before continuing.
The unique PIN generated during the Server installation must be entered prior to launching SoftPro Select. The PIN can be entered here (recommended) or when launching the program.
- Enter the PIN
- If entering the PIN during installation (recommended), place your cursor in the PIN field, press Ctrl+V keys to paste (or manually enter)
- If entering when launching Select, check the A PIN will be entered when Select is launched check box
- Click Install
Entering the PIN is a one-time event and is recommended it be entered during the installation. This also applies if a Pooled Server installation; the PIN is entered once as long as the pooled servers use the same database. If switching between servers that connect to separate databases, the PIN needs to be entered once for each.
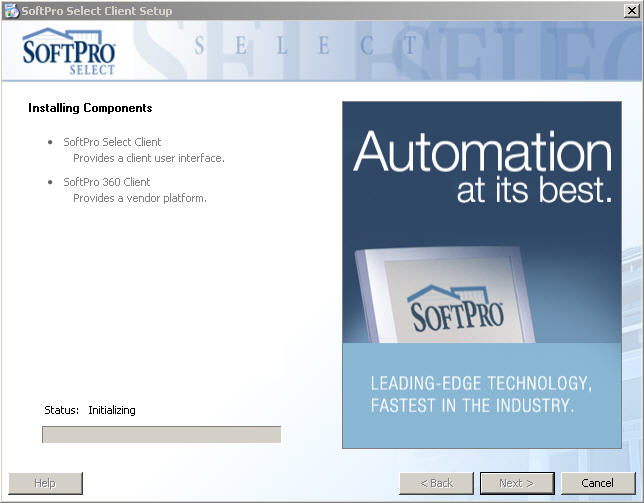
The Installing Components dialog appears, displaying installation progress.
The Success dialog indicates that the client has been successfully installed.
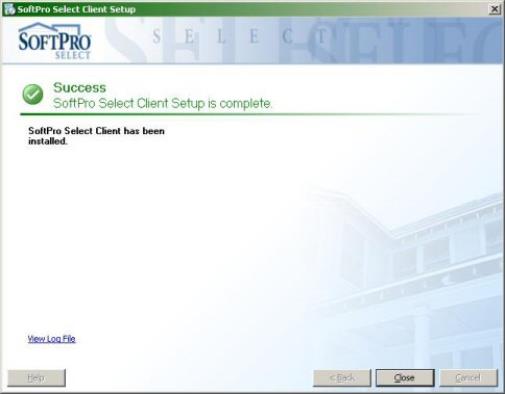
- Click Close to close the Success dialog. The SoftPro Select icon appears in your desktop. Note: Click the link View Log File on this final screen to view the installation log.
Next: Connecting to the Server »