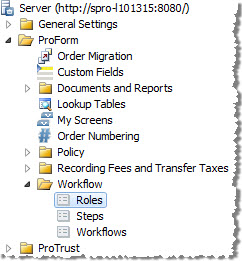
Roles are used in Workflow and their properties can be viewed under SPAdmin > ProForm > Workflow > Roles.
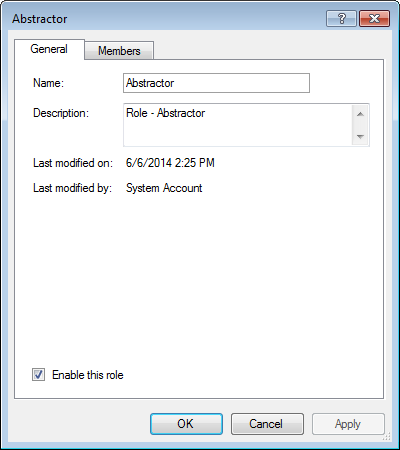
Name: When editing roles, enter a name for the role. Click OK to save changes.
Description: Enter a description of the role and its purpose.
Last modified on/by: The date and login name will appear here after the information has been created and saved. This will change each time there is a modification to the entry.
Enable this Role: Check to make the role active.
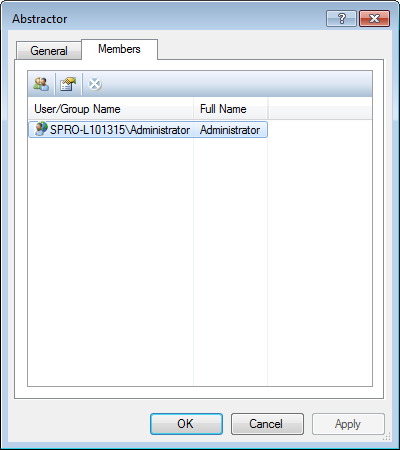
In this tab, you can assign a user as a member of the role.
The Assign Members dialog displays a list of users you can assign to the role. The dialog allows sorting and multi-select to assign.
Note: Only active Select users are available for assignment on the Members tab.
Properties of an assigned user may be accessed by clicking on the Properties button of the toolbar.
You can remove assigned members by clicking the Remove Assignment button on the toolbar, by shortcut key (Alt+R), or by using the right-click menu option.
Adding a Role
- Go to SPAdmin, click on the Managers button and select Roles from the list.
- Right-click in the Roles screen and select New Role.
- The New Role Properties dialog appears. Enter the name and a description of the role.
- Assign a user to be associated with the Role on the Membership tab and click OK.
Disabling a Role
- Go to SPAdmin, click on the Managers button and select Roles from the list.
- Right-click in the role to disable and select Disable from the dialog.
- A confirmation dialog appears asking for confirmation to disable this role.
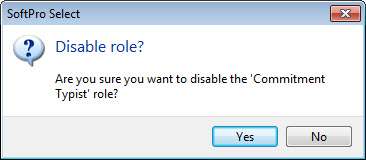
- Click Yes to disable or No to cancel out of the action.