Adding a User or Group to a Permission
- Click the SPAdmin program tab:
- Click the Configuration button.
- Click on Permissions in the Security folder.
- In the Permissions window, under the Secured Items folder, open a folder and double-click a node that you wish to add a user or group to. This will bring up the properties dialog of the permission node selected.


- Click the plus sign to open the Add Users and Groups to Permissions dialog:
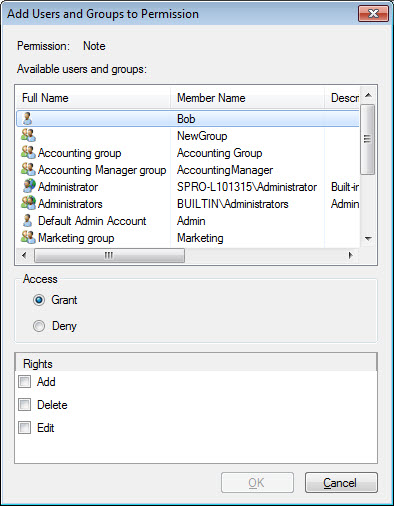
Select a user or group to add. Note: Press and hold CTRL to select multiple users or groups.
- Select either Grant or Deny.
- Select the rights that you either want to grant or deny. A permission will have one or more rights associated with it. You must select the right(s) you are granting before you can click OK.
- Click OK.
- To edit permissions, highlight and double-click an entry under the Rights tab. The User or Group Permission dialog will appear. Select the access you want to grant or deny. Click OK to save.
Note: Group rights rule over individual rights. In other words, even if you explicitly grant a single user rights to a feature, if the user belongs to a group that is denied that right, the user will not be able to access the feature.