Server Installation
For information on upgrading your server(s), read the server upgrade section.
Typical Installation
In a typical installation, the Launch the server deployment wizard option is checked when you close the Services Setup Success dialog, and the Server Creation Wizard appears.
Custom Installation
If you wish to install additional server instances on the same port, please reference those instructions. Otherwise, follow these steps to complete a custom server installation:
- Go to Start, Programs, SoftPro Select, then SoftPro Select Services.
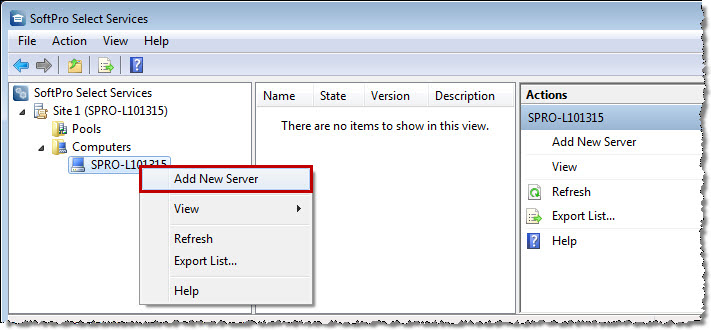
- Right-click the machine name. Select Add New Server. You may also click Add New Server in the Actions panel at right. The Server Creation Wizard appears.
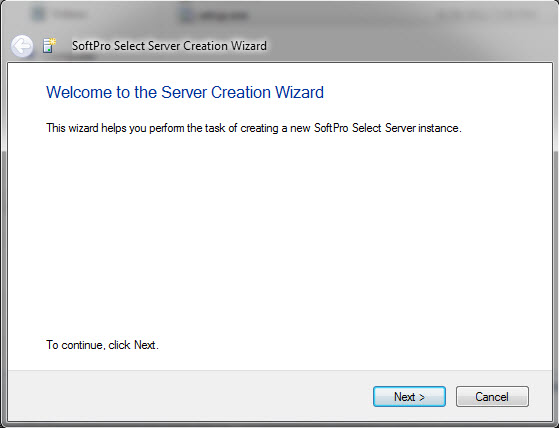
- The Welcome to the Server Creation Wizard dialog appears. Click Next.
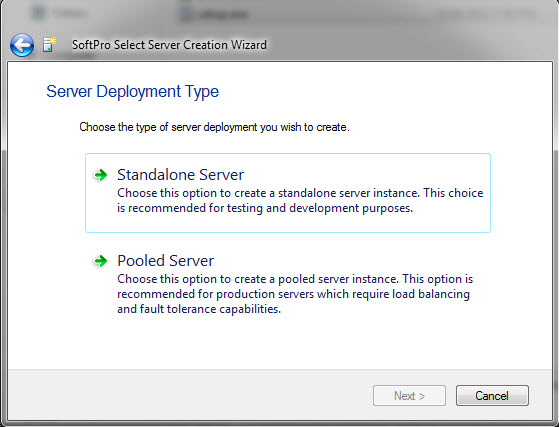
- The Server Deployment Type dialog appears. Click Standalone Server or Pooled Server.
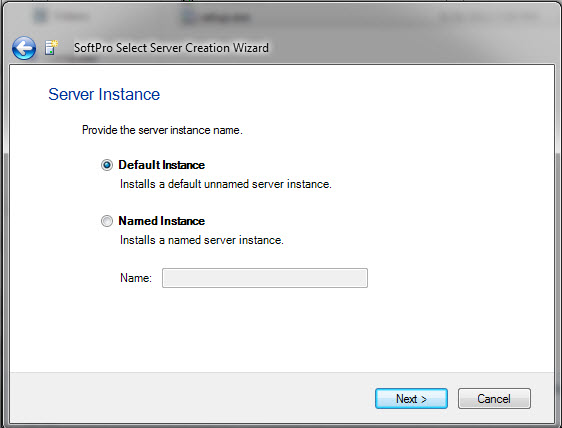
- The Server Instance dialog appears. Select Default Instance or Named Instance. If you select Named Instance, enter a name for the Select Server. Click Next.
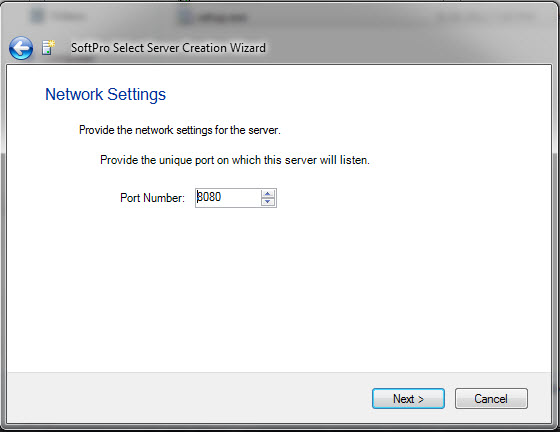
- Enter a Port Number (ex., 8080). Ensure that the selected port is not in use by another Select Server or any other service. Click Next.
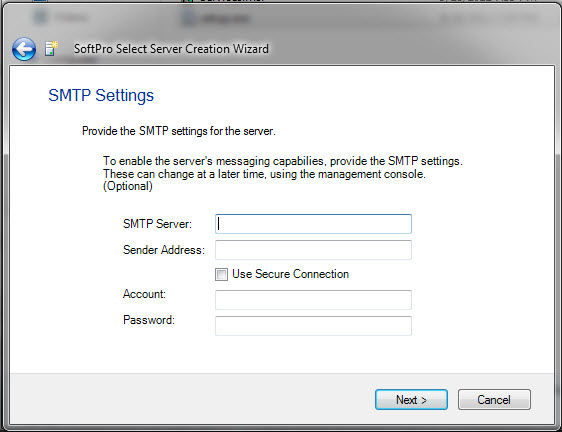
- If you want to create an e-mail account, enter the SMTP Server Name and Sender Address. Otherwise, leave blank and click Next.
- SoftPro uses Microsoft’s Application Insights, a software metrics service, to monitor & improve application performance, assist in diagnostic processes, develop updates, & create new support resources for users. By default, Application Insights is enabled and SoftPro's Instrumentation Key is entered:
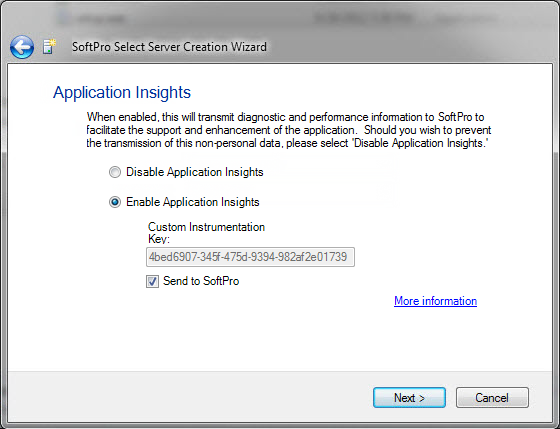
- As part of its normal function, Select transmits diagnostic & technical information to SoftPro pertaining to your computer system, incidents, and usage of the application. The data does not include any non-public personal information, will not personally identify you or your customers, and you can opt out of this function at any time by contacting support@softprocorp.com.
- All data sent to SoftPro is anonymous and is relayed with respect to a customer license number. Click the More information link to view the data that may be sent to SoftPro.
- You may opt to use your own Application Insights account and send data to yourself. In this situation, no data will be sent to SoftPro. Simply uncheck Send to SoftPro and input your own Instrumentation Key.
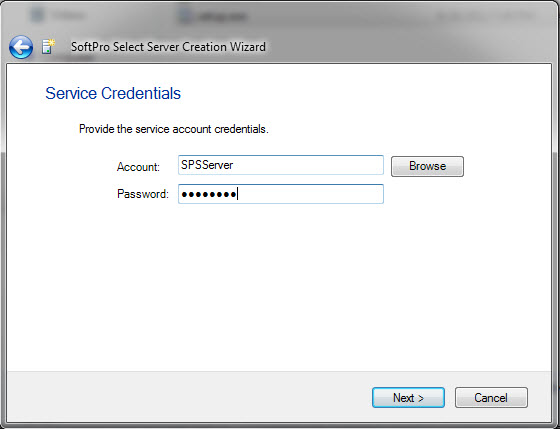
- Enter <Domain name>\SPSServer OR SPSServer and the corresponding password that you created as the service account credentials. Click Next.
- Enter the name of the SQL server (e.g. <SQL Server name>\<Instance name>) and the database name. The default database is SelectDb (e.g. - MyServer\SelectDb). If a Select Server named instance was created, it defaults to the Instance Name\SelectDb. The SQL database name must conform to SQL naming standards. You may reference these standards in this article, or find another article that applies to your specific SQL version: http://msdn.microsoft.com/en-us/library/ms143531.aspx. Important: If this is a database upgrade only, you must select the database to be upgraded from the list. If an item does not pass, resolve the issue, then click Retry. Click Next.
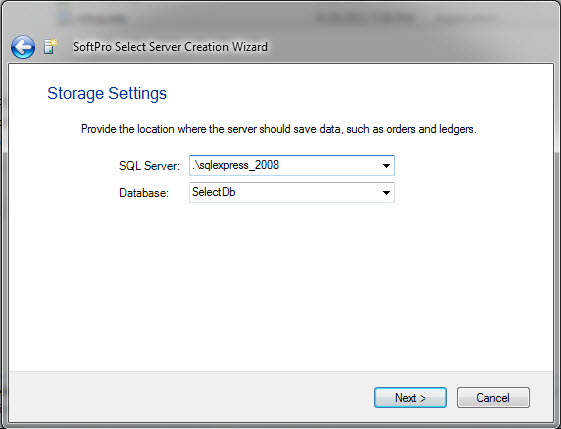
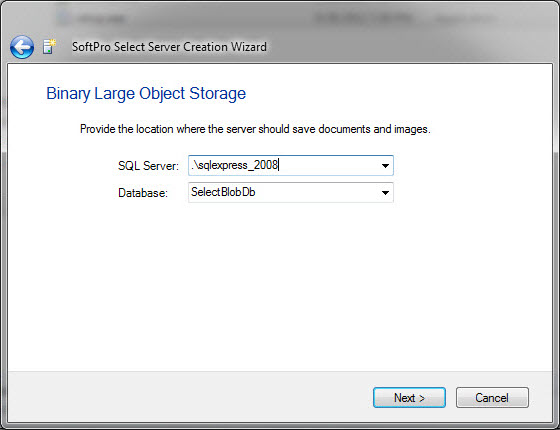
- Enter the name of the SQL server (e.g. <SQL Server name>\<Instance name>) and the database name. The default database is SelectBlobDb (e.g. - MyServer\SelectBlobDb). If a Select Server named instance was created, it defaults to the Instance Name\SelectBlobDb. Click Next.
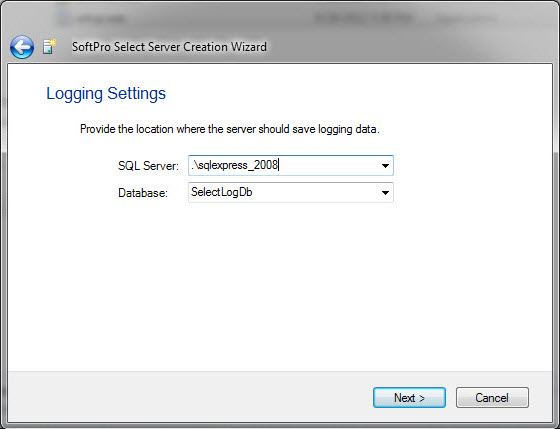
- Enter the name of the SQL server (e.g. <SQL Server name>\<Instance name>) and the database. The default database is SelectLogDb (e.g. - MyServer\SelectLogDb). If a Select Server named instance was created, it defaults to the Instance Name\SelectLogDb. Click Next.
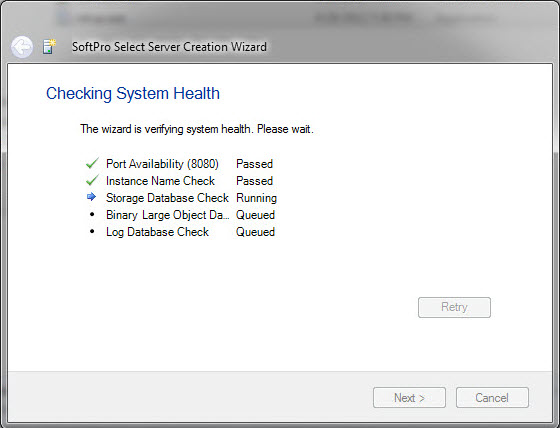
- The Checking System Health dialog appears. SoftPro Select verifies that the installation components are ready to proceed. Once they have been verified, they will be marked as "Passed". Click Next.
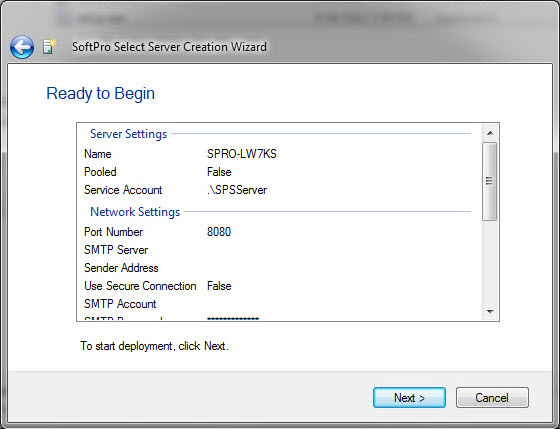
- The Ready to Begin dialog appears. It displays the configuration settings. Click Next.
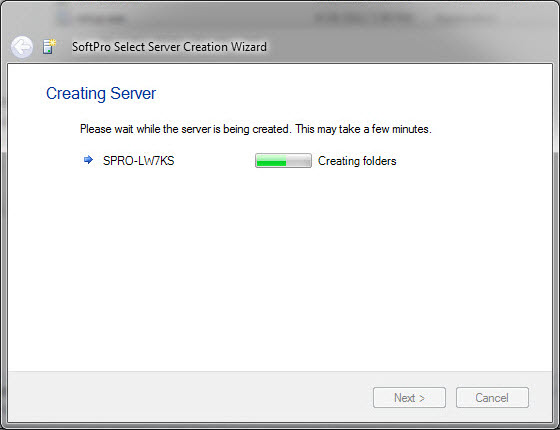
The server will now be created. There will be no need to click Next, as the installer moves you to the next screen automatically to let you know of a successful deployment. NOTE: A database upgrade may take longer, depending on the volume of data stored.
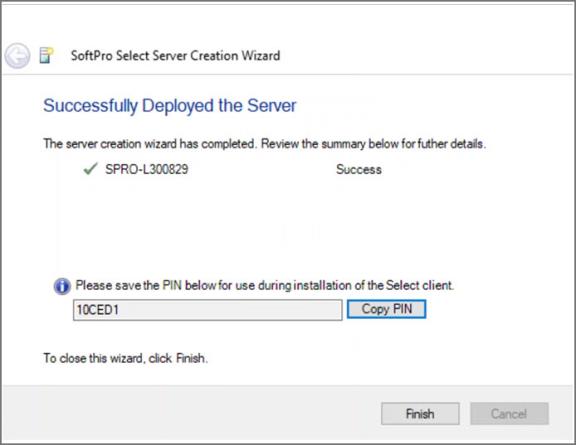
A message indicates the server has been successfully implemented. The message window displays a unique PIN. This PIN is needed to launch Select. It is recommended the PIN be entered during the Client installation.
- Click the Copy PIN button to copy the PIN to the clipboard
- Click Finish
Next: Adding Additional Server Instances on the Same Port »